
Silencing Squeaky Floors Without Pulling Up the Boards

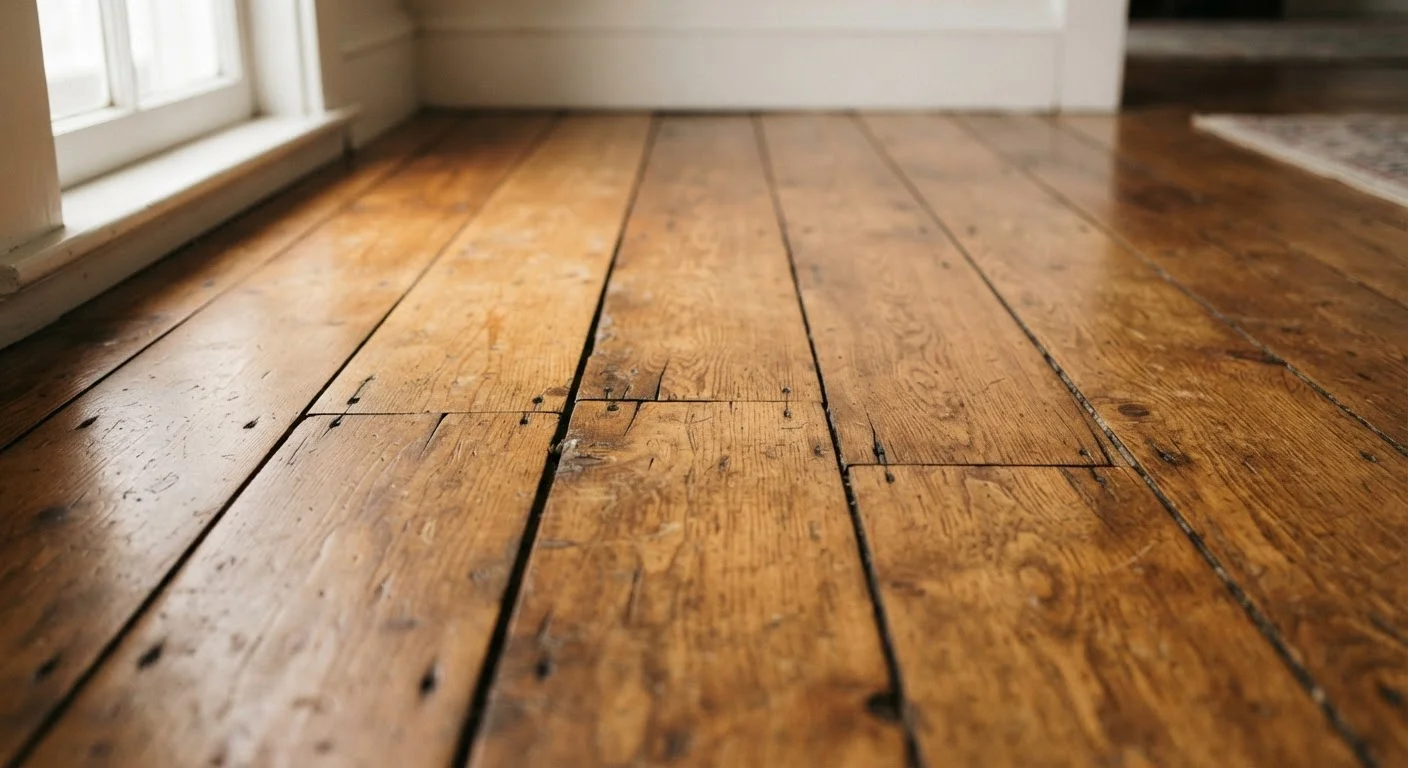
Photo: InsightsVault.com | Interesting Daily Reads editorial
Key Takeaways
- Most squeaks are caused by wood-on-wood friction between subfloor, joists, and finished boards.
- You can fix the majority of squeaks from above using screws, lubricants, or specialty fasteners.
- Carpet-covered floors can often be treated through the carpet without removing it.
- Squeaks below a finished floor can sometimes be addressed from the basement or crawl space.
- DIY repairs typically cost under $20 and can save hundreds in labor fees.
Why Floors Squeak - and Why That Matters for the Fix
A squeaky floor is almost always a movement problem. Wood expands and contracts with changes in humidity and temperature, and over time the friction between the finished floorboards, the subfloor beneath them, and the structural joists below creates that familiar creak. Nail shanks loosen, glue bonds break down, and gaps open between layers - all without any visible damage on the surface.
Identifying which layer is responsible shapes which fix you reach for. If the finished hardwood boards are rubbing against each other, a dry lubricant applied between boards solves it quickly. If boards have pulled away from the subfloor, a properly placed screw draws them back tight. If the subfloor is flexing against a joist, you may need to work from below. Understanding the source keeps you from wasting effort and money on the wrong approach.
Check Humidity Before You Fix
What You'll Need Before You Start
Gather your materials before getting on your knees. Having everything at hand prevents the frustration of finding the squeak mid-fix and losing track of exactly where it was.
What you will need
Drill with bit set
Drives screws through the subfloor or finished boards to pull layers tight.
Trim-head or breakaway screws
Low-profile screws designed to countersink cleanly into hardwood with minimal surface damage.
Powdered graphite or talcum powder
Dry lubricant worked between boards to reduce wood-on-wood friction.
Wood glue
Applied between subfloor layers or at joist contact points to eliminate movement.
Stud finder
Locates joists beneath the subfloor so screws can be driven into solid framing.
Wood filler or wax crayon (matching finish)
Fills and conceals screw holes in finished hardwood after fastening.
Step-by-Step: Silencing the Squeak
Work methodically - fix one squeak at a time, walk the area, and confirm success before moving on. Rushing through multiple spots at once makes it hard to know what actually worked.
Pinpoint the Exact Squeak Location
Walk the floor slowly and mark each squeak with a piece of painter's tape. Have a second person watch from a crawl space or basement if possible - the movement is often visible from below when weight is applied above. Narrow the location to within 2-3 inches before reaching for any tool.
Try a Dry Lubricant First (Hardwood and Engineered Wood)
For squeaks where boards rub each other at their edges, sprinkle powdered graphite or talcum powder along the joint line. Place a cloth over the area and walk on it to work the powder between the boards. This costs next to nothing and leaves no marks. If the squeak stops, you're done.
Drive Screws Through Finished Hardwood (Board-to-Subfloor Fix)
Use a stud finder to locate the joist nearest the squeak. Using a trim-head screw (typically 2 to 2½ inches), drill through the finished board and into the subfloor - angling slightly toward the joist if possible. Countersink the head just below the wood surface. Fill the hole with a color-matched wood filler or wax crayon and buff smooth. The screw pulls the board tight against the subfloor, eliminating the gap that caused friction.
Use the Carpet Method (Carpeted Floors)
For floors covered in carpet, you can drive screws straight through the carpet and subfloor without removing anything. Use a breakaway screw kit designed for this purpose - the shaft snaps off below the subfloor surface after the head is set, leaving nothing to catch on the carpet backing. The screw still draws the subfloor tight to the joist. Kits for this technique are widely available at hardware stores for around $10-$15.
Apply Construction Adhesive From Below (If Accessible)
If you have basement or crawl space access and can see the underside of the subfloor, have a helper walk the floor above while you watch for movement at joist contact points. Inject a small bead of construction adhesive into any gap between the subfloor and joist, then hold the surfaces together for 60 seconds. Wipe away squeeze-out. This approach is non-invasive and leaves the finished surface completely untouched.
Avoid Random or Excessive Fastening
When the DIY Fix Isn't Enough
If a squeak persists after you've tried the appropriate technique for your floor type, it may signal a structural concern rather than simple friction. Widespread springiness in the floor, visible sagging, or squeaks accompanied by cracking sounds warrant inspection by a licensed contractor - these can indicate joist damage, moisture intrusion, or subfloor deterioration that surface fixes won't address.
Similarly, if your home is older and the subfloor is diagonal board (common in pre-1960s construction) rather than plywood, adhesive approaches work differently and screws must be placed with more care to avoid splitting. When in doubt, consult a professional before proceeding. The cost of a one-hour consultation is far less than repairing a board split or damaged finish.
The content provided on our blog site traverses numerous categories, offering readers valuable and practical information. Readers can use the editorial team’s research and data to gain more insights into their topics of interest. However, they are requested not to treat the articles as conclusive. The website team cannot be held responsible for differences in data or inaccuracies found across other platforms. Please also note that the site might also miss out on various schemes and offers available that the readers may find more beneficial than the ones we cover.