
Why Your Caulk Keeps Cracking (And What to Do Instead)

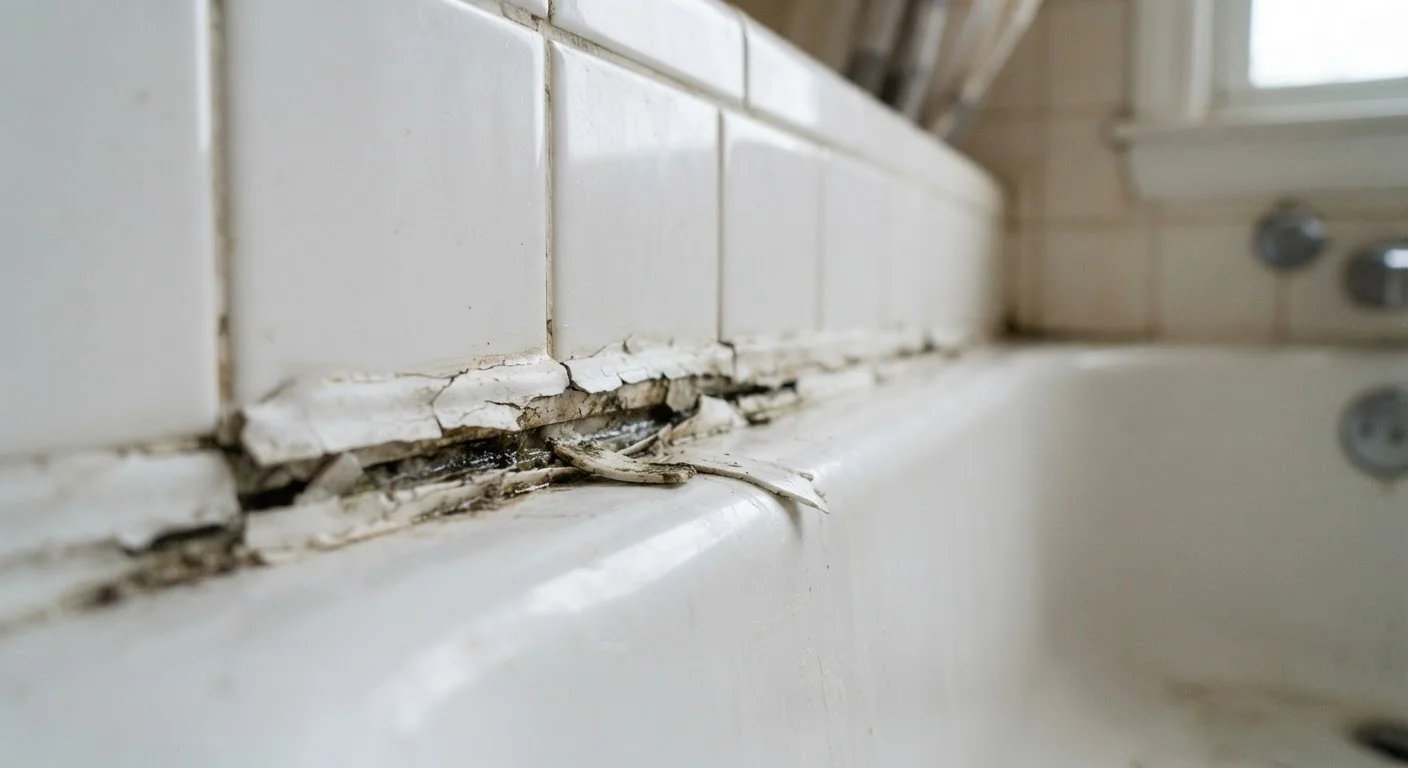
Photo: InsightsVault.com | Interesting Daily Reads editorial
Key Takeaways
- Most caulk failures trace back to surface prep, wrong product choice, or skipping cure time.
- Applying caulk over old, cracked caulk is one of the most common and costliest mistakes.
- Choosing the right caulk type for the location - kitchen, bath, exterior - dramatically extends its lifespan.
- Proper technique and allowing full cure time before water exposure can mean years of difference.
Why Caulk Fails Faster Than It Should
A quality caulk job should last five to ten years in most interior applications. If yours is cracking within months, the problem is almost never the caulk brand - it's one of a handful of repeatable mistakes that are entirely preventable. Understanding what causes premature failure saves you the cost of calling in a professional for a job well within DIY reach.
Caulk cracks for two main reasons: it can't adhere to the surface, or it can't flex with the movement happening around it. Both are fixable before you ever open a tube. The mistakes below cover every major failure point, from prep to product selection to application - so your next caulk job actually holds.
Caulking over old, cracked caulk without removing it first.
Skipping surface drying time before application.
Using the wrong caulk type for the location.
Applying caulk across a joint that's too wide or uneven.
Not allowing full cure time before water exposure.
Getting It Right the Next Time
Once you've stripped out the failed caulk and addressed the root cause, the application itself is straightforward. Work in a well-ventilated area, keep your bead continuous, and smooth it immediately with a wet finger or caulk tool. Cut your tube at a 45-degree angle and keep the opening small - a bead about the width of a pencil is appropriate for most joints.
Don't Rush the Cure Window
Cure time is non-negotiable. Most silicone caulks require 24 hours before water exposure; some need 48. Check your specific product's instructions. Running the shower an hour after caulking is one of the most reliable ways to guarantee a repeat job within weeks.
If you're still unsure whether the joint needs caulk at all - or whether grout would be more appropriate - see our guide to grout vs. caulk. Using the wrong material in the wrong place is a surprisingly common source of early cracking, especially along floor-to-wall transitions in tiled bathrooms.
$75-$200+
Typical professional recaulking cost
Homeowner cost estimates from general contractor pricing guides suggest a standard tub or sink recaulk runs $75-$200 or more depending on region and scope.
Under $15
DIY materials cost for most recaulk jobs
A tube of quality silicone caulk, a plastic scraper, and cleaning supplies typically total under $15 at hardware stores, making this a high-value DIY repair.
Done correctly, a DIY recaulk around a tub or sink typically costs under $15 in materials and takes under two hours. A professional caulking service for the same job commonly runs $75-$200 or more depending on your market - making this one of the better-value repairs a homeowner can tackle independently.
The content provided on our blog site traverses numerous categories, offering readers valuable and practical information. Readers can use the editorial team’s research and data to gain more insights into their topics of interest. However, they are requested not to treat the articles as conclusive. The website team cannot be held responsible for differences in data or inaccuracies found across other platforms. Please also note that the site might also miss out on various schemes and offers available that the readers may find more beneficial than the ones we cover.