
DIY Repairs Beginners Can Tackle Safely on a Weekend

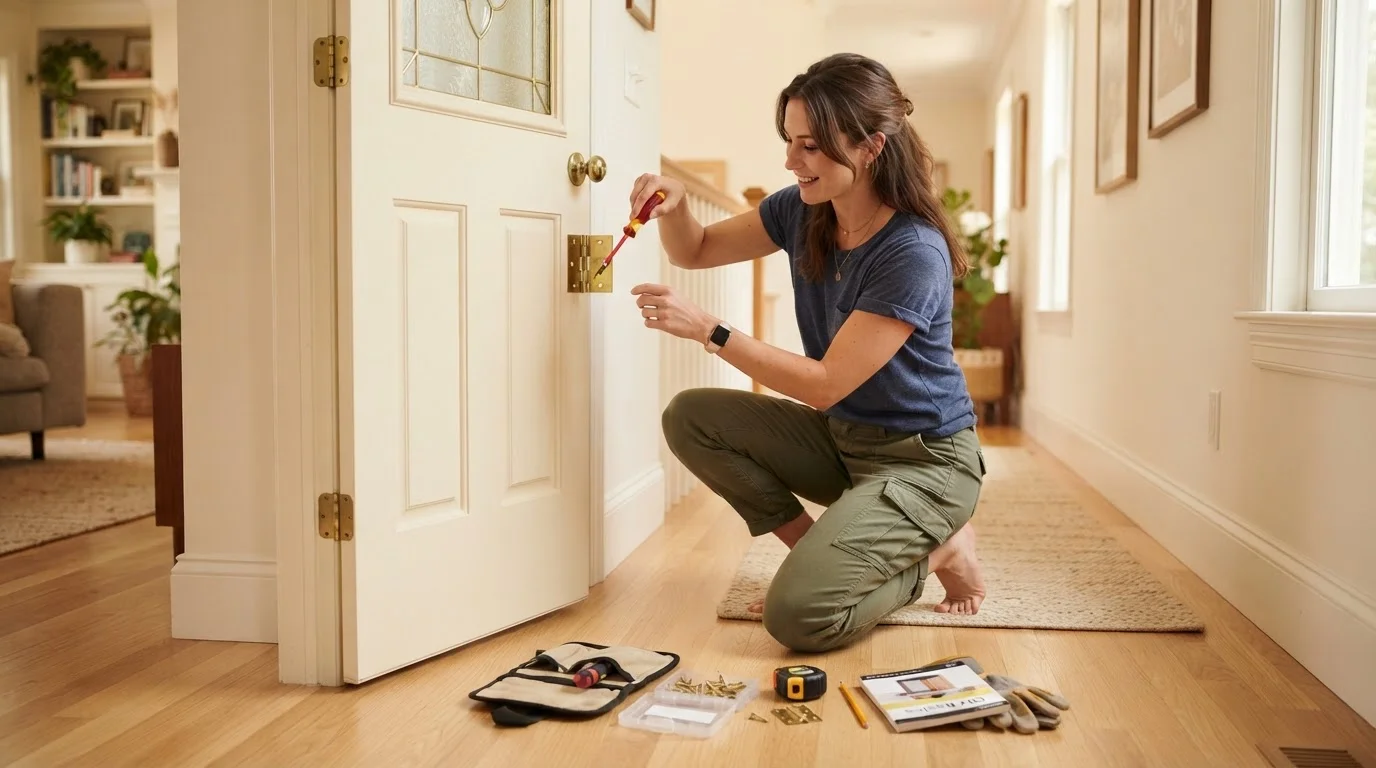
Photo: InsightsVault.com | Interesting Daily Reads editorial
Key Takeaways
- Labor typically accounts for 50-80% of a repair bill - completing simple fixes yourself can cut that cost entirely.
- The safest starter repairs involve no electrical, gas, structural, or plumbing-into-mains work.
- Having the right tools and reading instructions first dramatically reduces mistakes and rework.
- Knowing when a job exceeds your skill level is itself a valuable DIY skill that protects your home and wallet.
Why Weekend DIY Makes Financial Sense
Labor is the largest line item in most home repair invoices - typically representing 50-80% of the total cost. A plumber charging $150 per hour for a job that takes 30 minutes of actual work illustrates the math clearly: what you're paying for is expertise and availability, not materials. When a repair is low-complexity and genuinely safe for a non-professional to attempt, handling it yourself can eliminate that cost almost entirely.
Beyond the immediate savings, building a working knowledge of your home's systems means you catch problems earlier. A small caulk gap caught in spring is a $5 fix; left until water infiltration damages framing, it becomes a multi-hundred-dollar call. For a broader approach to catching issues before they escalate, the seasonal home maintenance checklist covers what to inspect and when throughout the year.
What to Know Before You Start
Starting with the right mindset matters as much as starting with the right tools. Read the full instructions for any repair before touching anything - this sounds obvious, but most beginner mistakes trace back to improvising mid-job. Watch a couple of short video walkthroughs as well; seeing a technique once is often worth more than reading about it three times.
Joint compound
A plaster-like paste used to fill and smooth drywall seams and patches. It dries hard and is then sanded before painting.
Flapper
The rubber valve inside a toilet tank that controls water flow into the bowl. When it fails, the toilet runs continuously.
Weatherstripping
Flexible sealing material applied around doors and windows to close gaps that let conditioned air escape and outside air enter.
Silicone caulk
A flexible, waterproof sealant used in wet areas like bathrooms and kitchens. It resists mold and lasts longer than acrylic alternatives in high-moisture environments.
Load-bearing wall
A wall that supports the weight of the structure above it. Altering or removing one without professional assessment can compromise the building's structural integrity.
Gather every material and tool before starting. Mid-project hardware runs add time, cost, and frustration. Keep a phone handy to document the before-state with photos - if you need to call in help later, those images are invaluable. And be honest about your own limits: the complete DIY planning guide provides a structured framework for assessing any repair from diagnosis through to safe completion.
Five Beginner-Friendly Repairs to Try First
These five repairs share three traits that make them good starting points: the materials are inexpensive, the consequences of a minor mistake are limited, and clear guidance is widely available.
- Patching small drywall holes. Nail pops, door-handle dents, and anchor holes left by previous owners are among the most common cosmetic issues. A pre-made patch kit handles holes up to around 4-6 inches. Apply, sand when dry, prime, then paint. Total materials cost: roughly $10-$20.
- Re-caulking a tub or shower. Old caulk cracks and peels, letting moisture behind tile or into framing. Remove the old caulk with a utility knife or oscillating tool, clean the joint thoroughly, and apply new silicone or sanded caulk with a steady bead. Professional re-caulking often runs $75-$200; materials cost under $15.
- Replacing a toilet flapper. A running toilet can waste hundreds of gallons per day. The flapper - the rubber seal at the bottom of the tank - is almost always the culprit. It costs under $10, requires no plumbing knowledge, and is replaced by hand in about 10 minutes with the water supply shut off.
- Fixing sticky or misaligned interior doors. A door that drags or won't latch is usually a hinge problem. Tighten loose screws first; if the screw hole is stripped, fill it with wooden toothpicks and wood glue, let it cure, then re-drive the screw. No specialist tools needed.
- Installing weatherstripping. Gaps around doors and windows drive up heating and cooling bills measurably. Self-adhesive foam or V-strip weatherstripping is cut to length, pressed into place, and requires no expertise. It's one of the highest effort-to-reward repairs on this list and connects directly to home energy savings strategies.
Document Before You Start
If you're curious whether common assumptions about these tasks are accurate, it's worth reviewing DIY repair myths debunked before picking up a caulk gun or sander.
Where to Stop and Call a Professional
A clear sense of scope protects both your home and your finances. As a general rule, any work touching your electrical panel, gas supply lines, load-bearing walls, or mains plumbing connections falls outside the safe DIY zone for most homeowners - not because the tasks are conceptually complex, but because the consequences of errors include fire, flooding, structural failure, or voided home insurance coverage.
Permits matter too. Work done without required permits can create problems when you sell your home and may force costly retrofits at that point. Check with your local building department before any project that changes a system rather than simply maintaining it.
Finally, be alert to the moment a repair reveals a bigger problem. Re-caulking a shower that then shows mold in the wall cavity is no longer a DIY caulk job - it's a moisture investigation that may need a contractor. Stopping and reassessing at that point is the right call, not a failure. For a detailed breakdown of where the DIY line sits on different project types, the end-to-end DIY home repair guide offers a thorough framework.
Frequently Asked Questions
The content provided on our blog site traverses numerous categories, offering readers valuable and practical information. Readers can use the editorial team’s research and data to gain more insights into their topics of interest. However, they are requested not to treat the articles as conclusive. The website team cannot be held responsible for differences in data or inaccuracies found across other platforms. Please also note that the site might also miss out on various schemes and offers available that the readers may find more beneficial than the ones we cover.