
DIY Home Repairs: A Complete Guide to Planning, Executing, and Knowing Your Limits

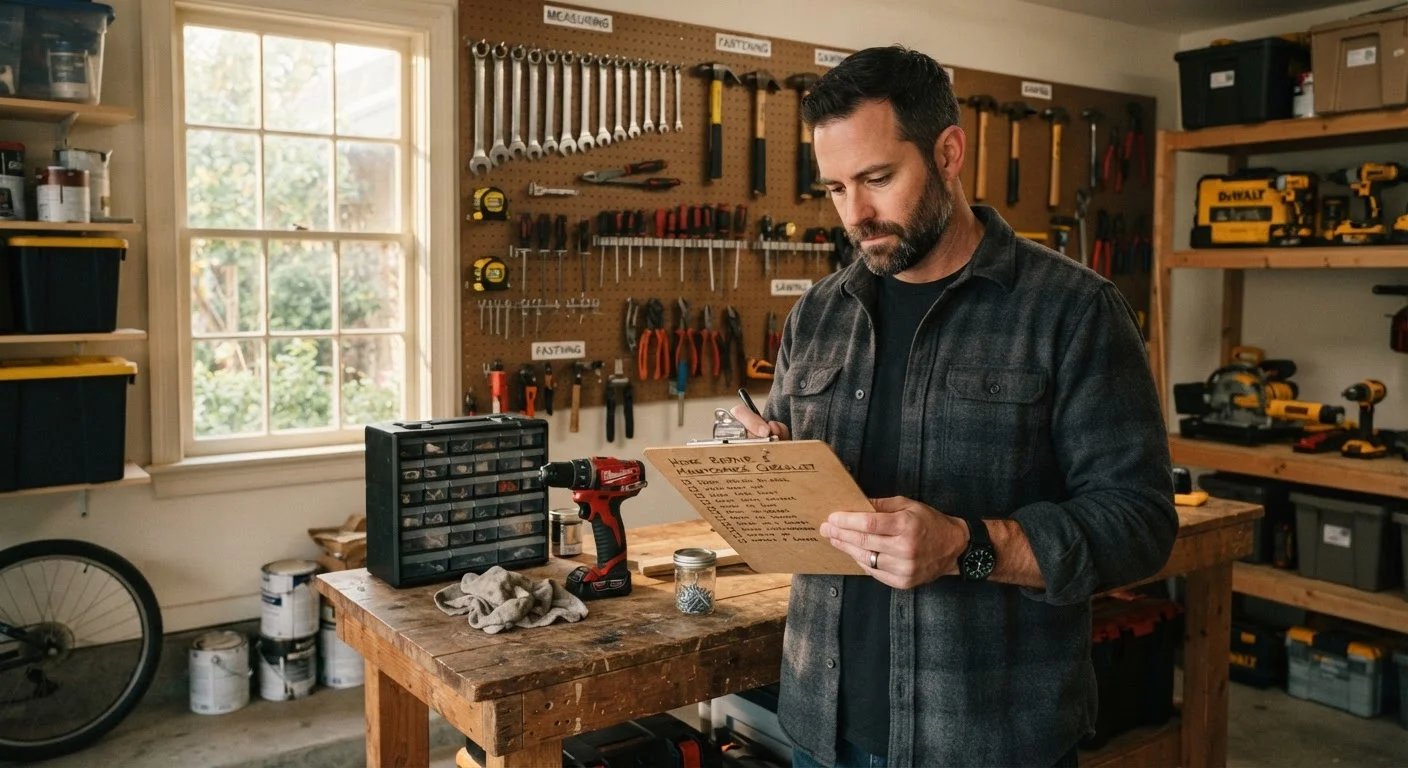
Photo: InsightsVault.com | Interesting Daily Reads editorial
Key Takeaways
- Accurate diagnosis before starting saves money and prevents unnecessary material purchases.
- Scope creep is the top budget-killer in DIY repairs - define the job tightly upfront.
- Electrical, gas, structural, and plumbing-into-mains work typically requires licensed professionals and permits.
- A modest core toolkit covers the vast majority of common household repairs.
- Completed repairs need a post-job quality check to catch issues before they worsen.
Diagnosing the Problem Before Picking Up a Tool
The single most expensive DIY mistake is misidentifying the root cause and fixing the wrong thing. A recurring damp patch on a ceiling, for example, may not originate directly above the stain - water often travels along roof timbers or joists before dripping down. Spend time observing before acting.
Start with a visual inspection in good light, noting the location, size, and any pattern to the damage. Check whether the issue is isolated or part of a broader system failure. A slow-draining sink could signal a simple P-trap clog or early main-line buildup - two problems with very different solutions and costs.
Photograph the issue before disturbing anything. This creates a baseline record and is invaluable if you need to consult a professional or make an insurance-related inquiry. Accurate diagnosis narrows your material list and keeps your project budget honest from the start. See also common DIY myths debunked for a reality check on instinctive assumptions that often lead homeowners astray.
Before buying materials, bring a sample of what you're matching - a paint chip, a tile fragment, a section of molding - to the supplier. Color and profile variations between production runs are common and can ruin an otherwise solid repair.
When diagnosing a plumbing leak, dry the suspect area completely with a cloth, then watch for moisture return over 10-15 minutes before assuming you've found the source. Active leaks reveal themselves quickly; slow seepage takes patience to locate accurately.
Planning Your Repair: Scope, Materials, and Budget
Once you've confirmed what needs fixing, define the scope in writing - even a one-sentence job description helps prevent scope creep, which is the number-one budget-killer in home repairs. Decide upfront whether adjacent worn elements (grout, caulk, trim) should be addressed in the same session or deferred.
Build a materials list before visiting a supplier. Cross-check quantities against your measurements and add a 10-15% overage buffer for consumables like tile, lumber, or paint. Buying two extra tiles now is far cheaper than sourcing a discontinued pattern later.
40-65%
Share of pro repair quote that is labor
Industry cost data consistently shows labor accounts for the majority of professional repair invoices across common trades.
10-15%
Recommended material overage buffer
Building professionals routinely advise adding this cushion on consumables to account for cuts, breakage, and future touch-ups.
Pre-1980
Homes at risk for asbestos-containing materials
The U.S. EPA notes that asbestos was commonly used in building materials until the late 1970s; disturbance requires certified abatement.
For budget framing, labor typically accounts for 40-65% of a professional repair quote - the portion DIY directly eliminates. Materials costs remain roughly constant whether you hire out or not, so know your true baseline. Use that labor savings figure as your upper ceiling for the time investment you're willing to commit. For a structured approach to catching issues before they escalate into costly repairs, the seasonal home maintenance checklist is a practical companion resource.
Building Your DIY Toolkit Without Overspending
You don't need a contractor's van to handle most household repairs. A core toolkit covers the majority of common jobs: a 16 oz. claw hammer, Phillips and flathead screwdrivers in multiple sizes, adjustable pliers, a cordless drill/driver, a utility knife, a tape measure, and a 4-ft level. Add a stud finder and a quality caulking gun and you can tackle a wide range of interior repairs.
Resist the urge to buy specialized tools for a single job. Many home improvement centers and public tool libraries offer rental programs - paying a daily rental fee on a tile saw or oscillating multi-tool is almost always cheaper than purchasing one for occasional use.
If you're just starting out, the beginner-friendly weekend repairs guide identifies accessible, low-risk fixes that let you build real skills before attempting more complex jobs.
Knowing Your Limits: When to Call a Professional
Confident DIY judgment isn't just about what you can do - it's equally about recognizing what you shouldn't. Certain categories of home repair carry risks that extend beyond a failed fix: personal injury, voided homeowner's insurance, failed inspections, and code violations that complicate future property sales.
Stop and hire a licensed professional for any work involving: the main electrical panel or new circuit wiring; gas lines or gas appliances; load-bearing structural elements (walls, beams, foundations); roof decking or structural roofing; and connections to the municipal water main or sewer lateral. These jobs frequently require licensed tradespeople by law, and errors can have serious safety consequences.
Never DIY These Without a Licensed Professional
For a detailed cost-benefit breakdown of when DIY genuinely saves money versus when it quietly creates bigger bills, see when DIY makes sense - and when it costs more.
Permits, Codes, and Safety: What Homeowners Must Know
Many homeowners skip the permit process assuming it's bureaucratic overhead. In practice, unpermitted work on electrical, plumbing, structural, or HVAC systems can void homeowner's insurance coverage for related claims, trigger costly correction orders during a home sale, and create liability exposure. Requirements vary significantly by municipality - always verify with your local building department before starting work that falls into regulated categories.
Beyond permits, personal safety during any repair is non-negotiable. Wear appropriate PPE: safety glasses for cutting or drilling, gloves when handling sharp materials, and an N95 respirator when disturbing drywall dust, old insulation, or any material that may contain asbestos (common in homes built before 1980). If you suspect asbestos-containing material, stop work and consult a certified abatement professional - do not sand, drill, or disturb it.
Utility management is equally critical. Always shut off water supply valves before plumbing work and confirm the correct circuit breaker is off - and locked out if others share the panel - before touching any wiring. Rushing this step is where serious injuries occur.
Finishing Strong: Quality Checks and Ongoing Maintenance
A repair isn't complete when the tools go away - it's complete when you've verified the fix holds under real conditions. Run water through a repaired drain, test a patched wall under raking light, operate a rehung door through its full swing, and check for air gaps around newly caulked seams. Catching a minor defect immediately is far less disruptive than revisiting the same job in three months.
Document what you did: take post-repair photos, note the materials and quantities used, and record the date. This record pays dividends when repainting, matching materials, or troubleshooting a future related issue. It also strengthens your position if you later need professional warranty work or an insurance claim.
Finally, fold the repaired area into a regular maintenance cycle. Many repairs - caulk joints, gutter seals, weather stripping - have predictable lifespans. Proactive monitoring prevents the same issue from compounding. The home energy savings hub pairs well here: a number of maintenance tasks directly reduce utility costs alongside keeping your home in good condition.
This article provides general home repair information for educational purposes only. It is not a substitute for advice from a licensed contractor, engineer, or local authority. Always verify local permit and code requirements before beginning work, and consult a qualified professional for any repair involving electrical, gas, structural, or other hazardous systems.
The content provided on our blog site traverses numerous categories, offering readers valuable and practical information. Readers can use the editorial team’s research and data to gain more insights into their topics of interest. However, they are requested not to treat the articles as conclusive. The website team cannot be held responsible for differences in data or inaccuracies found across other platforms. Please also note that the site might also miss out on various schemes and offers available that the readers may find more beneficial than the ones we cover.