
Patching Drywall: From Small Holes to Large Gaps

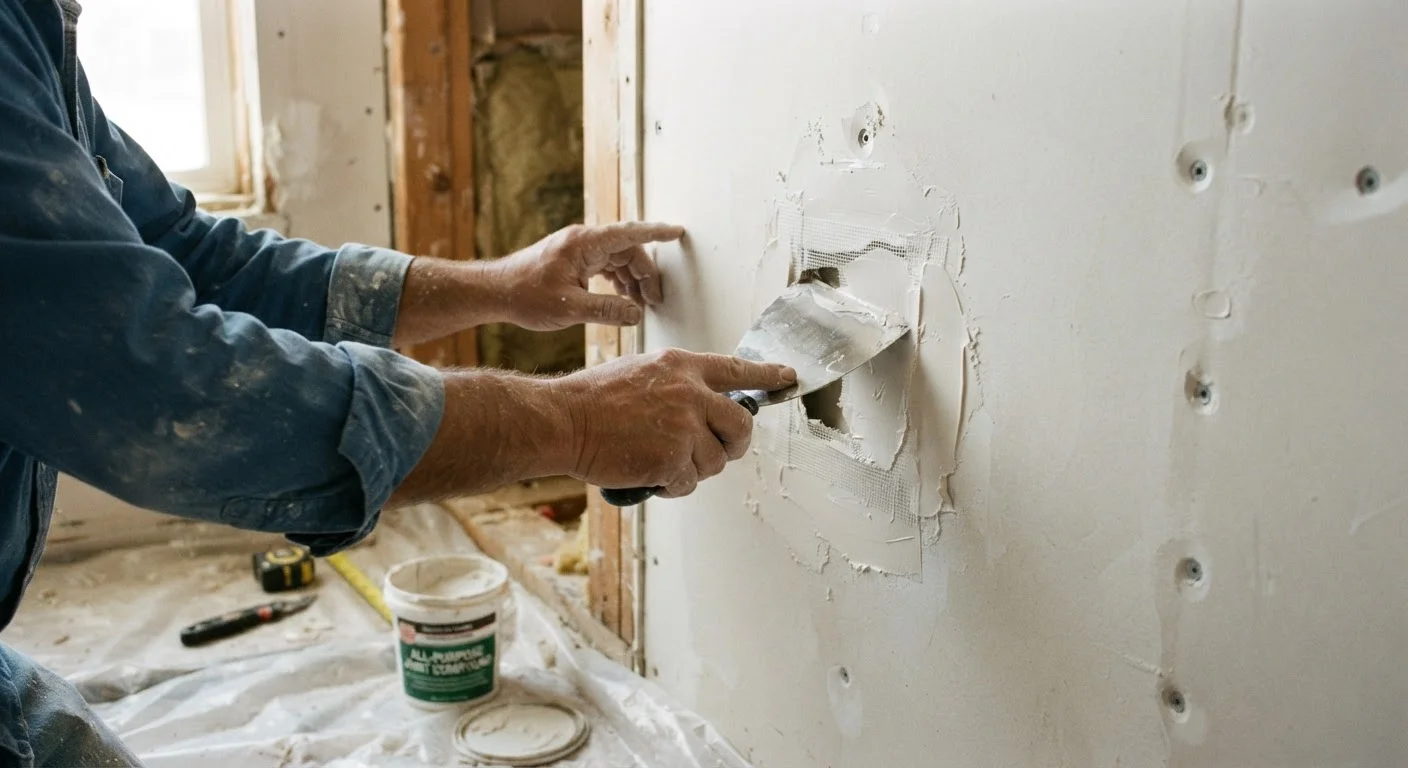
Photo: InsightsVault.com | Interesting Daily Reads editorial
Key Takeaways
- Match your repair method to the hole size: nail pops, palm-sized voids, and large gaps each need a different approach.
- Joint compound shrinks as it dries - plan for two or three thin coats rather than one thick application.
- Sanding between coats and feathering edges are what separate a seamless finish from a visible patch.
- A contractor typically charges $75-$150 per hour for drywall repair; most homeowners can handle common repairs for under $25 in materials.
- Electrical wiring may run inside walls - never cut into drywall without confirming what's behind it.
Why Drywall Repair Is Worth Doing Yourself
Drywall damage is one of the most common home repair calls - and also one of the most overpriced when hired out. A professional typically charges $75-$150 per hour for labor, with most simple repairs taking an hour or two. The same job done yourself costs the price of a mesh patch, a tub of joint compound, and a few sheets of sandpaper: usually under $25 total.
Beyond cost, drywall repair is genuinely accessible. It requires no power tools for most repairs, no permits, and no special skills beyond patience. The margin for error is low - joint compound is removable while wet and sandable once dry. If your first coat looks rough, the second coat fixes it.
This guide covers the full range: nail pops and screw holes on the small end, mesh-patch repairs in the middle, and full cut-and-replace repairs for fist-sized or larger damage. For an overview of where drywall work fits into broader home maintenance, see the complete DIY home repairs guide. Unfamiliar with terms like 'stud' or 'backer'? The homeowner's repair glossary has plain-language definitions.
Check for Wiring Before You Cut
Tools and Materials You'll Need
The tools required scale with the size of the repair. A nail hole needs nothing more than a putty knife and a small tub of lightweight spackling. A large cut-and-replace patch needs a drywall saw, backer wood, drywall screws, and a wider knife. Gather what applies to your repair size before you start.
Putty knife or drywall knife (4-6 inch)
Applies and feathers joint compound over patches and small holes.
Self-adhesive mesh patch or drywall patch kit
Bridges medium holes (1-4 inches) without a wood backer.
Drywall screws and 1×3 wood backer strips
Provide structural support when repairing large holes that need a new drywall piece.
Pre-mixed joint compound (all-purpose)
Fills, smooths, and finishes the repaired area.
Sandpaper (120-grit and 220-grit)
Smooths dried compound between coats and before painting.
Drywall primer (PVA)
Seals the porous compound so paint applies evenly.
Stud finder
Locates wall studs and warns of electrical wires when cutting into walls.
What you will need
If you're new to home repairs generally, beginner-friendly DIY repairs covers lower-stakes projects that build confidence before you tackle wall work.
Step-by-Step Instructions
Follow these steps in order. Rushing the drying stages is the most common mistake - it leads to cracking and wasted effort.
Assess and clean the damaged area
Run your hand around the hole and press gently on the surrounding drywall. Any panel that flexes or crumbles needs to be removed before patching - a patch applied over compromised drywall will crack. Use a utility knife to cut away loose paper or crumbling edges until you reach firm material. For nail pops, drive the existing nail in slightly deeper and add a drywall screw 2 inches above and below it to re-anchor the panel; then dimple the surface with the screw head.
Choose the right repair method for the hole size
Hole size determines your approach:
- Under ½ inch (nail holes, small screws): Fill directly with spackling compound or lightweight joint compound. No backing needed.
- ½ inch to 4 inches: Use a self-adhesive mesh patch. Press it firmly over the hole, then apply compound over the mesh.
- 4 inches and larger: Cut the damaged area into a clean rectangle using a drywall saw, install 1×3 wood backer strips inside the wall through the opening (secure them with drywall screws from the face), cut a new drywall piece to fit, and screw it to the backers.
Apply the first coat of joint compound
Load your putty knife with pre-mixed joint compound and spread it over the patch or filled area in a thin, even layer. Hold the knife at roughly a 30-degree angle and pull across the surface in one direction, then smooth in the opposite direction. The goal is to embed the mesh (if used) and fill any low spots. Don't try to make it perfect - this is the base coat.
For large patches, apply compound across the seams between the new drywall piece and the existing wall, pressing paper or mesh tape into the wet compound before smoothing it flat.
Let it dry completely, then sand lightly
Allow the first coat to dry fully. Drying time varies by room humidity and temperature, but count on at least 4-6 hours for thin coats; overnight is safer. The compound will shift from gray to white as it dries. Once dry, sand lightly with 120-grit sandpaper to knock down ridges and trowel marks. Wipe away dust with a dry cloth before the next coat.
Apply a second (and if needed, third) coat, feathering the edges
Apply a second coat slightly wider than the first, using a 10-12 inch drywall knife if available. 'Feathering' means gradually tapering the compound out several inches beyond the patch so the transition to the surrounding wall is gradual rather than abrupt. This is the technique that makes repairs invisible once painted. Most patches need two coats; deeper repairs or large sections may need three. Sand with 120-grit between coats and finish with 220-grit after the final coat.
Prime and paint the repaired area
Apply PVA drywall primer to the repaired area and allow it to dry according to the product directions. Then paint to match the surrounding wall. For the closest color match, bring a chip of the original paint to a hardware store for mixing, or test a small area first. Two thin paint coats generally produce a more uniform sheen than one thick coat.
Prime Before You Paint
When to Stop and Call a Professional
DIY drywall repair is appropriate for cosmetic damage - holes, dents, cracks, and nail pops. It is not appropriate when the damage signals a structural or systems problem. Stop and consult a licensed contractor if you notice:
- Large cracks running diagonally from door or window corners (may indicate foundation movement or settling)
- Soft, discolored, or moldy drywall (indicates moisture intrusion - the source must be fixed before patching)
- Damage that exposes electrical wiring or plumbing
- Any repair requiring work on load-bearing walls
Patching over these conditions without fixing the underlying cause produces a repair that fails within months and may mask a serious problem. Common DIY myths - including the idea that any crack is cosmetic - are worth reviewing before you assume a repair is simple.
This article provides general home repair information for educational purposes. Local building codes vary; always verify requirements in your area and consult a licensed professional for repairs involving electrical, plumbing, structural, or permitted work.
The content provided on our blog site traverses numerous categories, offering readers valuable and practical information. Readers can use the editorial team’s research and data to gain more insights into their topics of interest. However, they are requested not to treat the articles as conclusive. The website team cannot be held responsible for differences in data or inaccuracies found across other platforms. Please also note that the site might also miss out on various schemes and offers available that the readers may find more beneficial than the ones we cover.