
Seed Saving: How to Collect, Dry, and Store Seeds from Your Own Garden

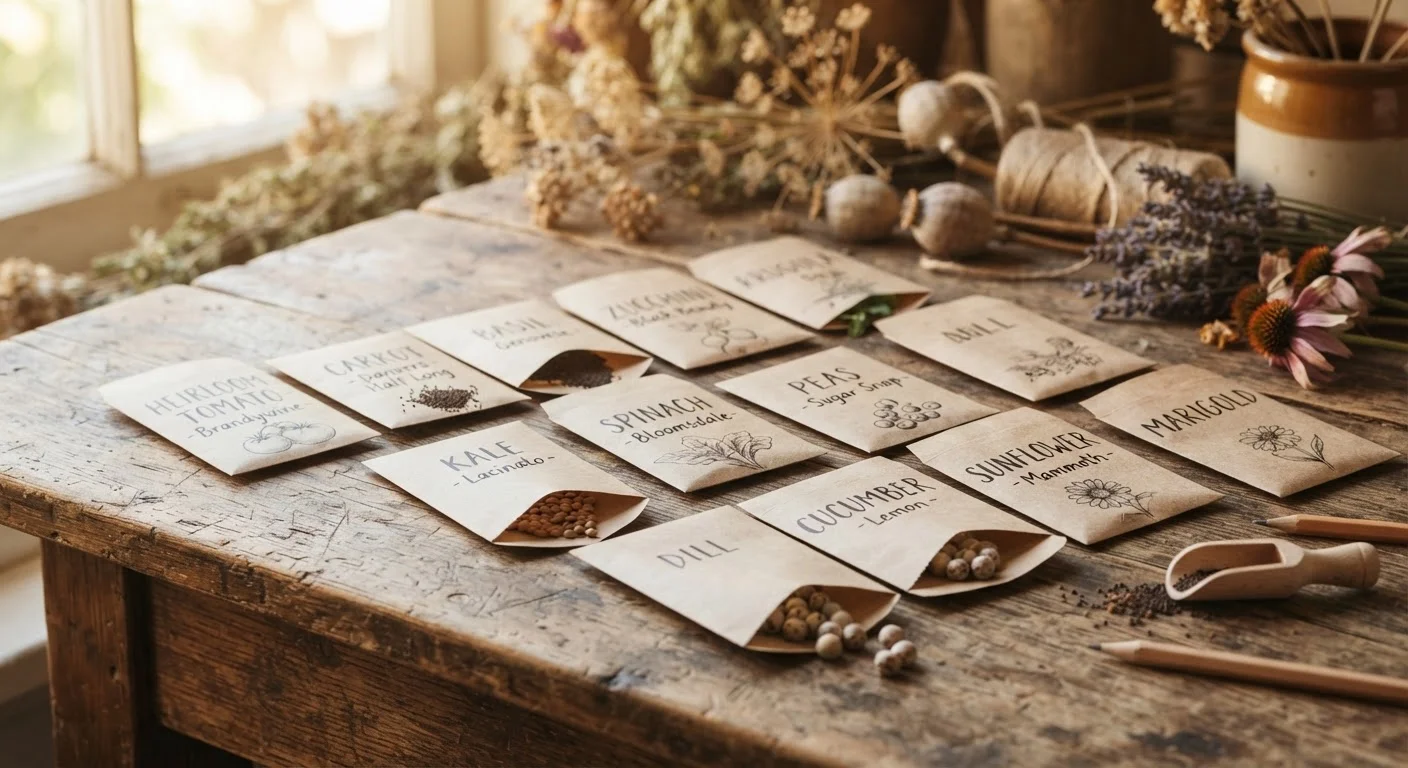
Photo: InsightsVault.com | Interesting Daily Reads editorial
Key Takeaways
- Only open-pollinated or heirloom varieties produce seeds that grow true to the parent plant.
- Seeds must be fully mature before harvest; early collection leads to poor germination.
- Thorough drying is the most critical step - moisture causes mold and kills seed viability.
- Cool, dark, dry storage can keep most seeds viable for two to five years.
- Consistent seed saving can eliminate most annual seed-packet spending for staple crops.
Why Seed Saving Is One of the Highest-Return Garden Habits
A single packet of vegetable or flower seeds typically costs between $3 and $6 at retail. A committed seed saver can replace most of those annual purchases with seeds collected from their own plants at essentially zero cost - just a few minutes of effort per variety at the end of the growing season. For gardeners growing even a dozen varieties, that adds up to real money annually.
Beyond the savings, seeds you collect are naturally adapted to your local soil, climate, and pest pressure. Over several generations, plants selected from your own garden often outperform purchased varieties in your specific conditions - a compounding benefit that's hard to put a dollar figure on.
To understand how seed saving fits into a broader low-cost gardening strategy, see the complete frugal gardening overview, or use the seasonal garden spending checklist to identify which seed purchases are costing you the most each year.
Start With Just Two or Three Varieties
What You'll Need Before You Start
Seed saving requires very little equipment, but getting the basics right from the start prevents the most common failures - premature harvest, inadequate drying, and poor labeling.
What you will need
Paper envelopes or small paper bags
Store dried seeds while allowing any residual moisture to escape - plastic traps humidity and promotes mold.
Fine-mesh strainer or colander
Rinse and separate wet seeds (tomatoes, squash) from pulp during the fermentation cleaning process.
Shallow plates or trays
Spread seeds in a single layer for even air-drying without seeds sticking together.
Permanent marker and labels
Record variety name, plant source, and harvest date - unlabeled seeds lose most of their value within one season.
Airtight glass jar with silica gel packet
Long-term storage container that maintains low humidity and extends seed viability for multiple seasons.
Step-by-Step: Collecting, Drying, and Storing Your Seeds
Follow these steps at the end of each growing season. The process varies slightly by plant type - wet-seeded crops like tomatoes need fermentation; dry-seeded crops like beans and lettuce do not - but the core principles apply broadly.
Identify Open-Pollinated Varieties Worth Saving
Check your seed packets or plant tags before the season ends. Look for the terms open-pollinated (OP) or heirloom. Seeds from these plants will produce offspring that closely match the parent. Seeds labeled F1 hybrid will not - offspring are unpredictable and often significantly lower-yielding. Good starter candidates include tomatoes, beans, peas, lettuce, basil, and most annual flowers like zinnias and marigolds.
Allow Seeds to Reach Full Maturity on the Plant
This is the step most beginners rush. Seeds are only viable when fully mature - which usually means letting fruit go well past the eating stage. Tomatoes should be soft and deeply colored. Bean and pea pods should be brown, dry, and rattling on the vine. Lettuce seed heads should be fluffy and just starting to disperse. For dry-seeded crops, wait until the plant begins to die back naturally before cutting seed heads.
Clean the Seeds (Wet or Dry Method)
Dry-seeded crops (beans, peas, lettuce, zinnias): Simply shell pods or rub seed heads over a bowl. Blow gently across the surface to remove light chaff - heavy seeds stay behind.
Wet-seeded crops (tomatoes, cucumbers, squash): Scoop seeds and gel into a jar with a small amount of water. Let ferment at room temperature for two to three days, stirring daily. Viable seeds sink; dead seeds and gel float. Pour off the floating material, rinse the remaining seeds thoroughly through a fine-mesh strainer, and proceed to drying.
Dry Seeds Completely Before Storage
Spread cleaned seeds in a single layer on a labeled paper plate, ceramic plate, or parchment-lined tray. Place in a well-ventilated indoor spot away from direct sunlight. Stir or turn seeds daily. Most small seeds (tomatoes, lettuce) are adequately dry in one to two weeks; larger seeds (squash, beans) may need two to three weeks. Seeds are ready when they snap cleanly rather than bending.
Label and Package Seeds for Storage
Transfer fully dried seeds into paper envelopes - never sealed plastic bags. On each envelope write: variety name, collection date, and any notable traits (e.g., "early producer," "disease-resistant"). Group envelopes by plant family in a labeled shoebox or small bin. If storing for more than one season, transfer envelopes into an airtight glass jar with a small silica gel desiccant packet to maintain low humidity.
Store in the Right Conditions
Store sealed jars or boxes in a cool, dark, dry location - a refrigerator (not freezer, unless seeds are extremely dry and well-sealed) or a cool basement shelf works well. Avoid garages and sheds where temperatures fluctuate widely. Most vegetable seeds stored properly remain viable for two to five years; onions and parsnips are exceptions and should be used within one to two seasons. Test germination rates on older seeds by placing ten seeds on a damp paper towel - if fewer than six sprout in the expected window, replace that variety.
Cross-Pollination Can Compromise Seed Purity
If you're weighing whether seed saving makes sense compared to buying transplants each spring, the true cost comparison of seedlings vs. seeds lays out the tradeoffs clearly.
The content provided on our blog site traverses numerous categories, offering readers valuable and practical information. Readers can use the editorial team’s research and data to gain more insights into their topics of interest. However, they are requested not to treat the articles as conclusive. The website team cannot be held responsible for differences in data or inaccuracies found across other platforms. Please also note that the site might also miss out on various schemes and offers available that the readers may find more beneficial than the ones we cover.