
Compost on Any Budget: Turning Kitchen Scraps into Garden Gold

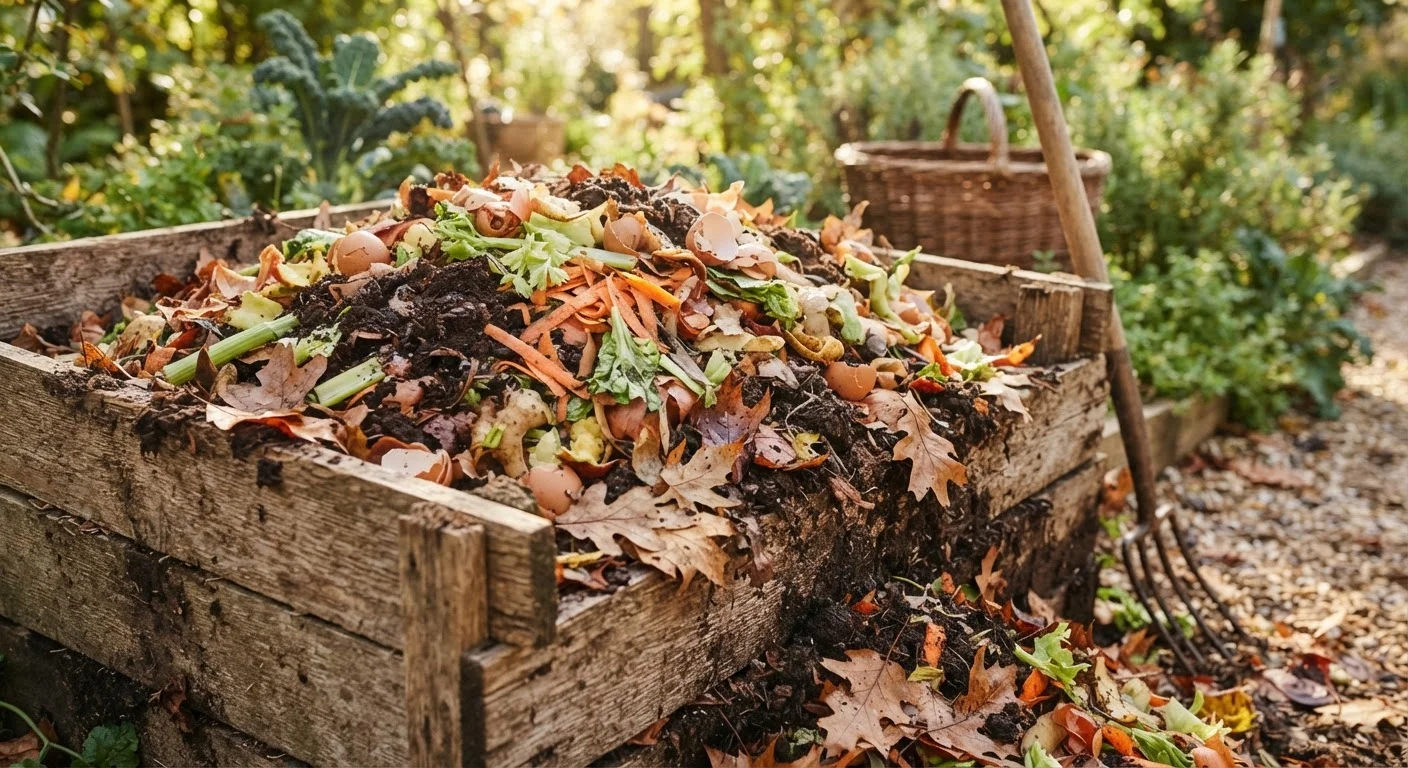
Photo: InsightsVault.com | Interesting Daily Reads editorial
Key Takeaways
- Composting costs nothing to start using materials you already discard every day.
- A simple pile or repurposed bin works as well as expensive commercial composters.
- Balancing nitrogen-rich 'greens' and carbon-rich 'browns' is the only real skill required.
- Finished compost can replace or significantly reduce purchased soil amendments and fertilizers.
- Most compost problems have simple, free fixes once you know the cause.
Why Composting Saves Real Money
Bagged soil amendments, potting mixes, and synthetic fertilizers are a recurring garden expense that adds up quietly season after season. As discussed in our breakdown of chemical fertilizer costs, a household that regularly amends beds with purchased products can easily spend $50-$150 a year on inputs that composting could replace at zero cost.
Composting is simply the managed decomposition of organic material into a stable, nutrient-rich soil amendment. The inputs are things you already generate: vegetable trimmings, coffee grounds, cardboard, fallen leaves. The output - finished compost - improves soil structure, feeds soil biology, and delivers a slow-release blend of nutrients that supports plant growth. It also reduces what you send to the landfill, which matters for households trying to cut waste alongside costs.
This guide is for readers starting from scratch. No equipment purchase is required to begin.
What You Can (and Can't) Compost
Compost
Decomposed organic matter that has broken down into a dark, crumbly material used to improve soil health and feed plants.
Greens
Nitrogen-rich composting materials such as fresh vegetable scraps, fruit peels, grass clippings, and coffee grounds.
Browns
Carbon-rich composting materials such as dry leaves, cardboard, newspaper, and straw that balance greens and aid decomposition.
Vermicomposting
A composting method that uses worms (typically red wigglers) to break down food scraps into nutrient-rich worm castings, suitable for indoor use.
Worm castings
The waste produced by worms during vermicomposting - a highly concentrated, gentle soil amendment and plant feed.
Soil amendment
Any material mixed into garden soil to improve its structure, drainage, fertility, or ability to support plant life.
Home composting works with a wide range of organic materials, but a few categories are firmly off-limits in a backyard system.
Good to compost
- Raw fruit and vegetable scraps (peels, cores, rinds)
- Coffee grounds and paper filters; loose-leaf tea
- Eggshells (slow to break down but beneficial)
- Grass clippings, garden trimmings, and spent plants
- Dry leaves, straw, and cardboard torn into small pieces
- Plain paper (newspaper, paper bags, uncoated cardboard)
- Hair clippings and nail clippings
Keep these out
- Meat, fish, bones, and dairy - attract pests and create odor
- Cooked or oily food waste
- Pet waste and litter - risk of pathogens
- Diseased or pest-infested plant material
- Anything treated with persistent herbicides or pesticides
- Glossy or heavily coated paper
If your household generates a lot of cooked food scraps, a vermicomposting (worm bin) setup handles a broader range of food waste indoors without the pest risks of an outdoor pile.
Choosing Your Setup: Free to Low-Cost Options
You do not need to buy a commercial composter. Here are practical setups at every price point:
Open pile (free)
A heap directly on soil in a corner of your yard is the simplest approach. Decomposition happens naturally; turning speeds it up. Best suited to yards with some space and where aesthetics are less of a concern.
DIY enclosure (free-$5)
Four wooden pallets stood on edge and wired together at the corners make a sturdy, free three-bin system. Alternatively, bend a 10-foot length of hardware cloth or chicken wire into a cylinder - functional and inconspicuous.
Repurposed container ($0-$15)
A large plastic storage bin or trash can with drainage holes drilled into the base and sides works well for smaller yards. Keep the lid on to retain moisture and deter pests.
Worm bin (small upfront cost)
A plastic storage tote with bedding (shredded cardboard and dampened newspaper) and a starter batch of red wigglers produces rich worm castings indoors or in a garage. This is the best option for apartment dwellers or anyone without outdoor space.
For a fuller picture of where garden spending tends to leak, see the seasonal garden spending audit - composting often shows up as one of the highest-return swaps on that checklist.
Getting the Balance Right: Greens vs. Browns
The single most important concept in composting is the ratio of nitrogen-rich materials (called greens) to carbon-rich materials (called browns). Getting this roughly right determines whether your pile smells, decomposes quickly, or just sits there.
- Greens (nitrogen): fresh vegetable scraps, fruit peels, coffee grounds, fresh grass clippings, fresh garden trimmings
- Browns (carbon): dry leaves, cardboard, newspaper, straw, paper bags, wood chips
A commonly cited starting target is roughly 3 parts browns to 1 part greens by volume. In practice, most kitchen-heavy piles run too wet and nitrogen-rich, so keeping a bin of dry leaves or torn cardboard next to your pile lets you add a handful of browns each time you add kitchen scraps.
Keep a Browns Stash Within Reach
Moisture matters as much as ratio. The pile should feel like a wrung-out sponge - damp but not dripping. During dry spells, water it lightly. If it's too soggy, add more browns and turn to introduce air.
Troubleshooting Common Compost Problems
Most compost issues have a straightforward fix:
| Problem | Likely cause | Fix |
|---|---|---|
| Smells like ammonia | Too many greens | Add browns; turn to aerate |
| Smells like rotten eggs | Too wet, not enough air | Turn pile; add dry browns |
| Pile not heating up | Too dry, too small, or too many browns | Moisten; add greens; build pile larger |
| Pests digging in | Food scraps near surface or prohibited items added | Bury scraps in center; add wire mesh base |
| Slow decomposition | Materials too large; pile too cold | Chop scraps smaller; turn more frequently |
None of these problems require purchased products to fix. They're all about adjusting what you already have. For more context on habits that cost gardeners money unnecessarily, the guide on expensive gardening habits is worth reading alongside this one.
Using Finished Compost in Your Garden
Compost is ready when it looks and smells like dark, crumbly soil with no recognizable scraps remaining. At that point, it's one of the most versatile soil amendments available - for free.
How to use it
- Bed amendment: Work 1-3 inches into the top 6 inches of soil before planting each season.
- Planting hole: Mix a handful into each hole when transplanting vegetables or perennials.
- Lawn top-dressing: Spread a thin layer (¼-½ inch) over grass and water in - improves soil structure over time.
- Potting mix component: Blend finished compost with garden soil to reduce reliance on purchased potting mix.
- Mulch layer: Apply around plants as a surface mulch - it feeds while suppressing weeds. Compare this approach with other mulching materials in our mulch materials comparison.
Composting is one piece of a broader low-cost gardening approach. The complete frugal gardening overview covers how soil building, seed saving, and smart watering combine into a system that consistently lowers garden costs year over year.
Frequently Asked Questions
The content provided on our blog site traverses numerous categories, offering readers valuable and practical information. Readers can use the editorial team’s research and data to gain more insights into their topics of interest. However, they are requested not to treat the articles as conclusive. The website team cannot be held responsible for differences in data or inaccuracies found across other platforms. Please also note that the site might also miss out on various schemes and offers available that the readers may find more beneficial than the ones we cover.